
Agent
You can create Agents for recurring work, such as translation using your preferred terminology, coding with your technology stack, or writing in your voice. Adjust each Agent's system role, model, Skills, and knowledge base as your tasks change.
This guide covers Agent creation and setup. You can also connect an external agent through the same creation menu.
What Makes an Agent
For an Agent you create in LobeHub, start with a role and a model. Add instructions, tools, and context for the task:
| Component or setting | Purpose | Boundary |
|---|---|---|
| System Role | Defines expertise, behavior, and communication style | Instructions do not grant tool permissions |
| AI Model | Understands requests, reasons, and generates content | Modalities and tool support depend on the model and provider |
| Skills | SKILL.md instruction packages with optional references, templates, or scripts | Installation does not supply tools, account authorization, or an execution environment |
| Connectors | Manage access and call permissions for built-in tools, MCP servers, and third-party integrations | A tool can run directly, request approval, or stay off |
| Web Search | Finds information on the internet | Enable through + below the chat input. Choose Smart Search or Provider Search. Not a Skill package |
| Resource Library | Provides uploaded files and knowledge bases for search and reference | Separate from documents the Agent saves itself |
| Memory | Provides relevant personal context across conversations | Not a chat log, project instructions, or model training |
A system role and a model are enough to start. Add Skills, Connectors, and resources as your work requires them.
See the June 8, 2026 changelog for details about connector permissions.
Types of Agents
- Built-in Agents — Agent Builder (helps you create Agents), Pages Agent (writing), Memory Agent (manages your personal Memory)
- Custom Agents — Agents you create and configure for your specific workflows
- Community Agents — Ready-to-use Agents shared by the LobeHub community — one click to add
- External Agents — Coding agents and personal agent platforms you connect from an execution device
Create a New Agent
Create an Agent with Agent Builder, build one from scratch, add one from the Community, or connect an external agent. External agents retain their own runtime and setup requirements.
Smart Creation with Agent Builder
Open Agent Builder
Click Create Agent in the left sidebar, or use the Create Agent option below the chat input.
Describe Your Goal
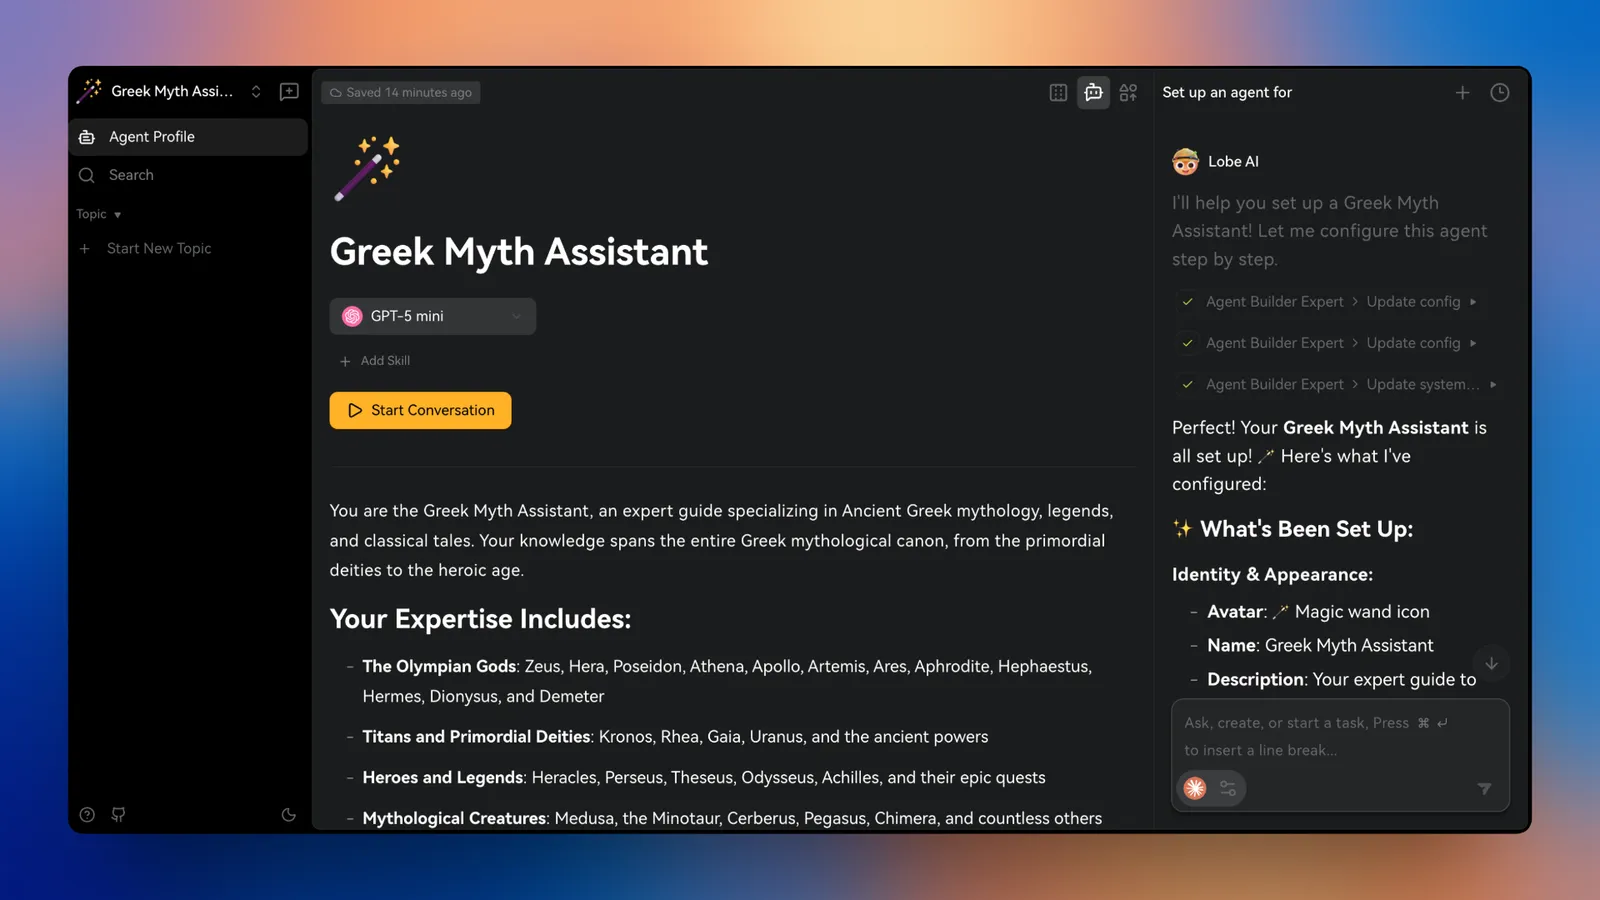
On the Agent Profile page, chat with Agent Builder on the right panel. Describe what you need in plain language — Agent Builder generates the role settings, system prompt, and Skill configuration automatically.
Review and Adjust
Review the generated configuration and adjust anything that doesn't fit.
Build a Custom Agent
You can set the avatar, name, system prompt, model, and Connectors yourself on the Agent Profile page. Start by describing the Agent's role in its system prompt.
Add from the Community
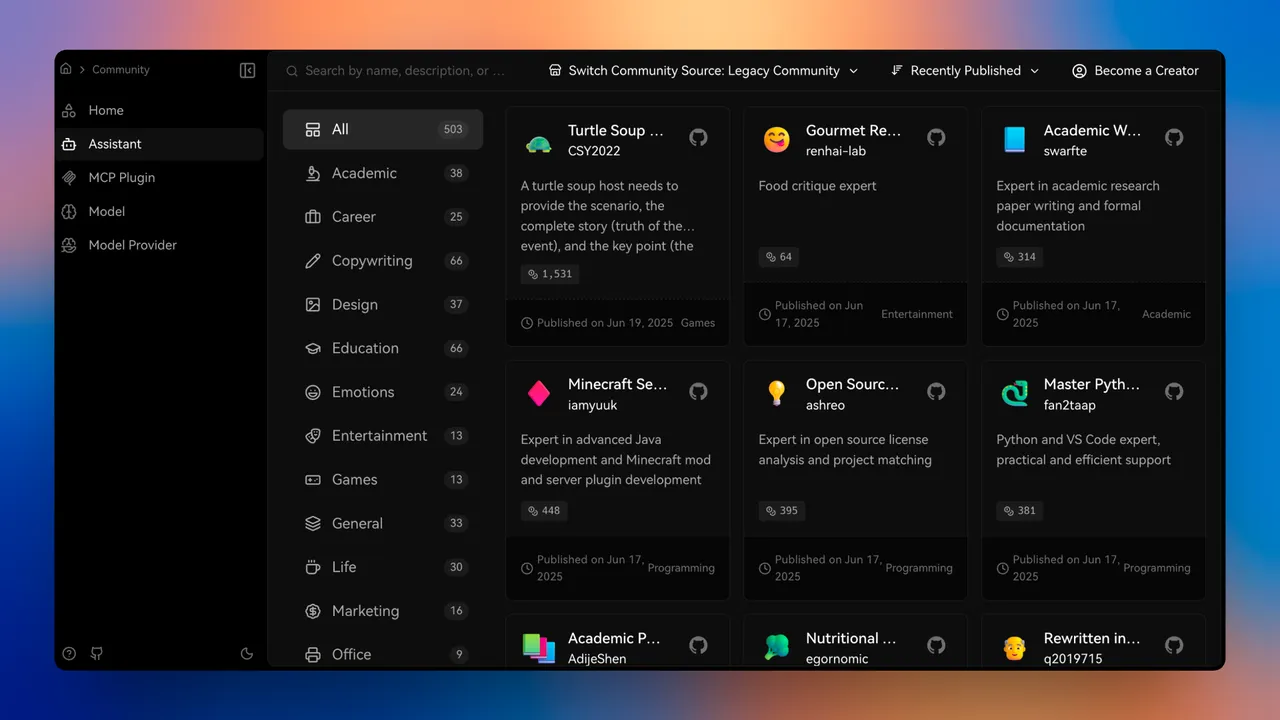
The Community has thousands of ready-to-use Agents — design experts, coding helpers, copywriters, academic tutors, and more.
- Go to Community → Agents in the left sidebar, or scroll down the main screen to Community Agents.
- Open an Agent's detail page, then click Add Agent & Chat to start immediately.
Connect External Agents
Open Create Agent → Connect External Agents to bring an existing external agent into LobeHub.
Supported agents include Codex, Amp, Claude Code, CodeBuddy, Cursor, Factory Droid, Devin, Grok Build, Kimi Code, OpenCode, Pi, Qoder, TRAE CLI, OpenClaw, and Hermes.
See Connect External Agents for installation requirements, device selection, and connection steps. External agents use their own runtimes, so the settings described here do not apply identically to every integration.
Configure Capabilities and Context
Add Skills and Connectors
Skills describe how to approach tasks. Connectors let Agents use tools. Manage them separately:
- Manage Skill packages and the Skill Store in Settings → Skills.
- Select the Skills for this Agent in Agent settings → Skills.
- If a Skill requires an external service, connect and authorize that service in Settings → Connectors.
- Select connectors in Agent settings → Connectors.
- Check each tool's permissions.
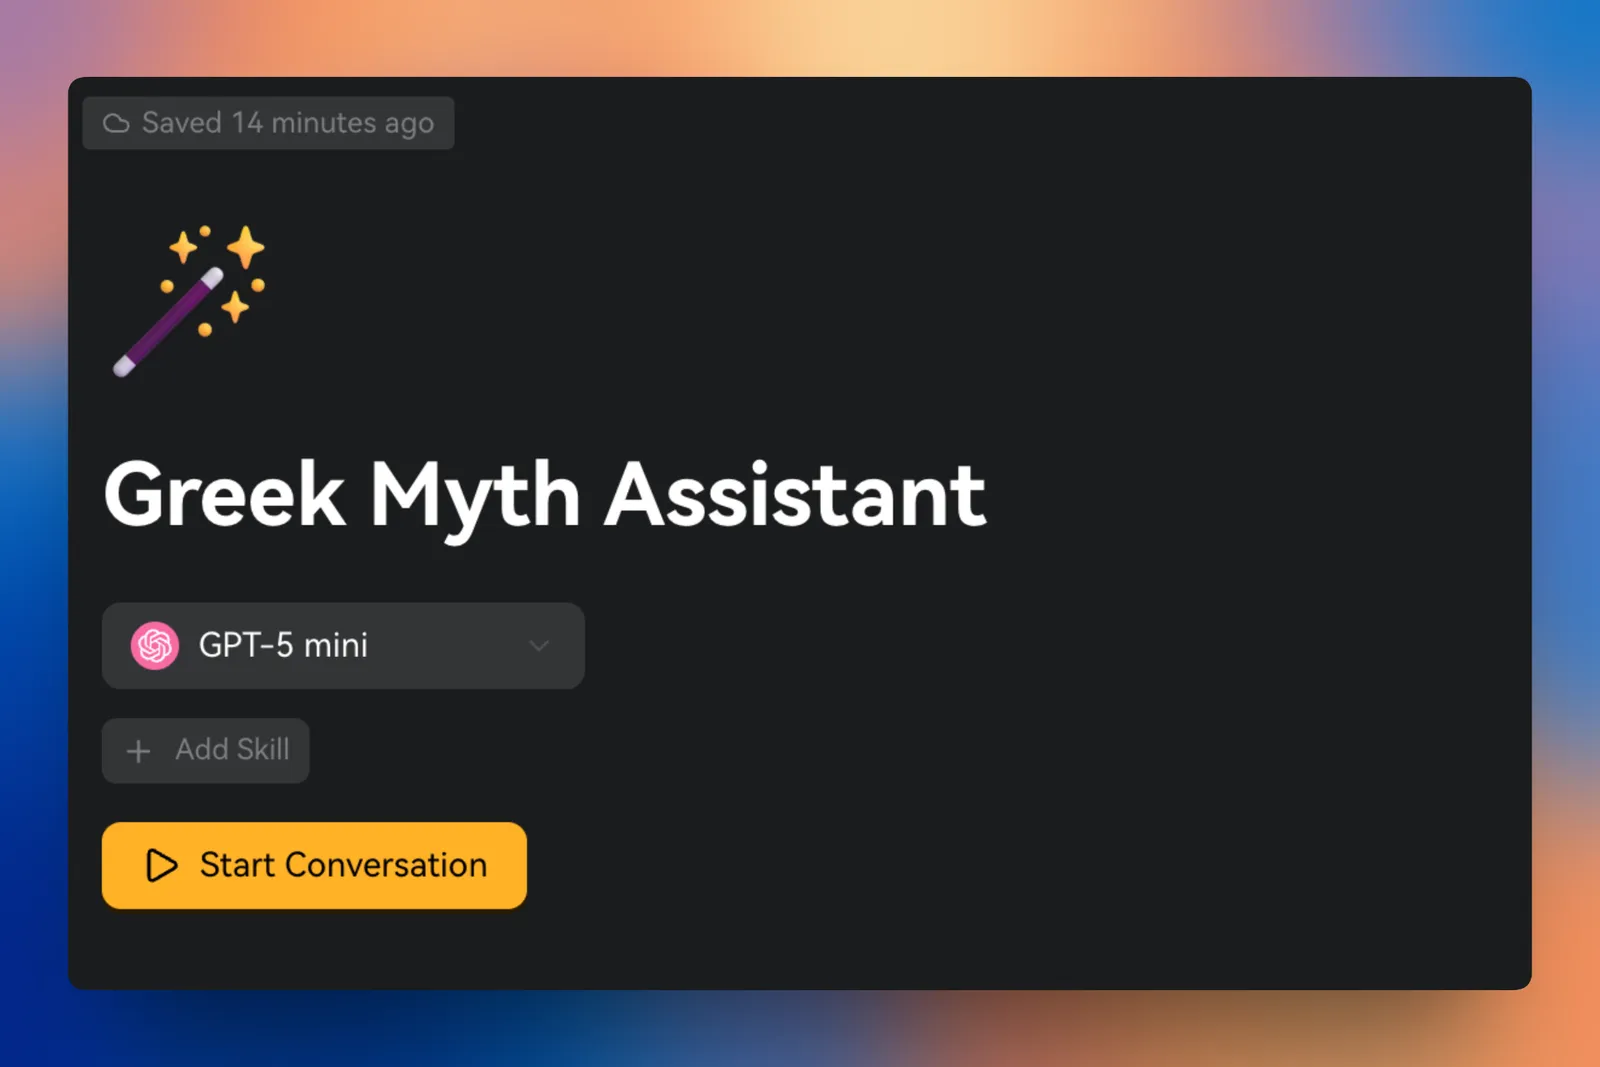
Click Add Skill in the Agent Profile to select Skills. Configure any required connectors separately. The screenshot below shows the Skill entry point; its layout depends on your version.
See Skills Marketplace and MCP Marketplace.
Enable Web Search
Click + below the Agent chat input. Enable Web Search, then select Smart Search or Provider Search. Smart Search uses the LobeHub-optimized search service. Provider Search can cause unexpected behavior and is not recommended. Select Off to disable Web Search.
Built-in web search does not require a package from Add Skill. A research Skill can guide search methods but cannot bypass disabled tools. See Web Search.
Choose an Execution Device
Before work with local files, terminals, or device tools, check the execution device and working directory.
The device that shows the conversation is not necessarily the device that runs the tools.
Open the Terminal
In the desktop app, click Terminal in the top-right corner of an agent page to enter commands and view output without switching to a separate terminal app. See Terminal for instructions and session management.
Edit Agent Information
Open a conversation. Click Agent Profile in the left sidebar. Update the name, role, model, or Skills to match your work.
See Agent Profile for appearance customization, core instructions, Agent Builder, channels, and usage statistics.
Link a Knowledge Base
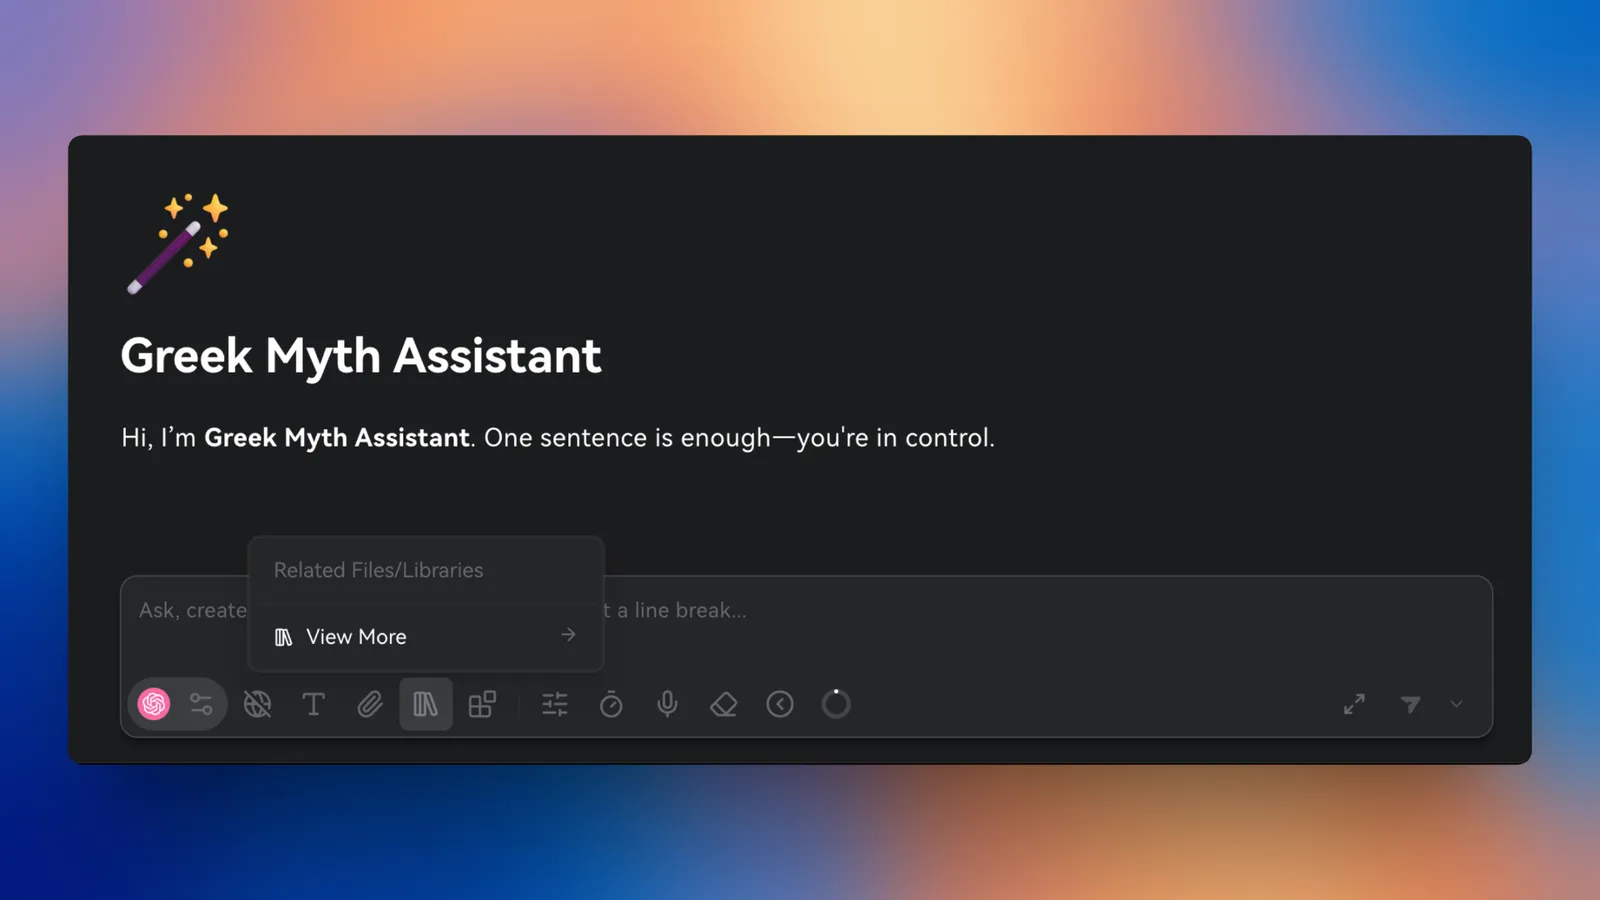
Attach a knowledge base so your Agent answers from your own data — docs, specs, or research — not just from general training.
In the chat interface, use the Knowledge Base button to select and attach a knowledge base.
For more on knowledge bases, see Resource Library.
Writing Effective System Prompts
The system prompt defines the Agent's expertise, behavior, and communication style. Clear instructions help it respond consistently.
Example structure:

Tips for writing good prompts:
- Be specific about expertise — Name the role, domain, and focus. For example: "You are a senior TypeScript engineer specializing in React and performance optimization."
- Define the communication style — Specify tone (professional, casual), response length (concise/detailed), and format (markdown, bullet points, prose).
- Include domain-specific guidelines — For a legal writing Agent: "Cite relevant statutes when applicable. Flag when advice requires licensed legal counsel."
- Start simple, iterate — Begin with a basic prompt and refine based on the Agent's actual responses.
Choosing the Right Model
Select a model by task requirements rather than a fixed list of recommended model names:
| Task requirement | What to compare |
|---|---|
| Routine questions and edits | Response speed, language quality, and cost per task |
| Complex analysis and code | Reasoning quality, reliable tool calls, and code test results |
| Long documents | Context window, file support, and retrieval accuracy in long text |
| Images, audio, or video | Required input or output modalities in both the model and its integration |
| Tool-heavy work | Provider support for tool calls, structured output, and required parameters |
| Local inference | Hardware, runtime compatibility, and data sent through other cloud features |
Compare results and costs on representative tasks. Then select a default model for the Agent. With a local model, cloud features can still use the network and transfer data.
See Model Providers for model and account availability.
Best Practices
- Test your prompts — After creating an Agent, run a few sample conversations to verify it behaves as expected. Refine the system prompt based on what doesn't work.
- One responsibility per Agent — You can create separate Agents for coding, writing, and research, with instructions tailored to each role.
- Update Agents as needs evolve — Revisit the system prompt when your workflows or requirements change.
- Use Agent Builder for complex setups — Let Agent Builder prepare the initial settings and system prompt. Then refine them manually.
Continual Improvement and Reusable Content
Improve your Agent by updating its system prompt, managing Memory, and maintaining Skills. These changes guide its work without training the underlying model.
For guidance on these updates, see Memory management and Skills.
Agent Documents hold notes, research results, and reusable content. The Resource Library holds uploaded files and knowledge bases. You can manage these two types of content separately.
Community and Sharing
Find an Agent in the Agent Marketplace, then adjust its settings for your work.
Become a Creator explains how to publish Agents, Agent Groups, and Skills. Topics: Export and Share covers exports and available link-sharing options.
Before sharing, check system prompts, messages, and attachments for sensitive information. A public Agent profile does not grant account authorization, private resources, or execution-device access.
Manage Agents
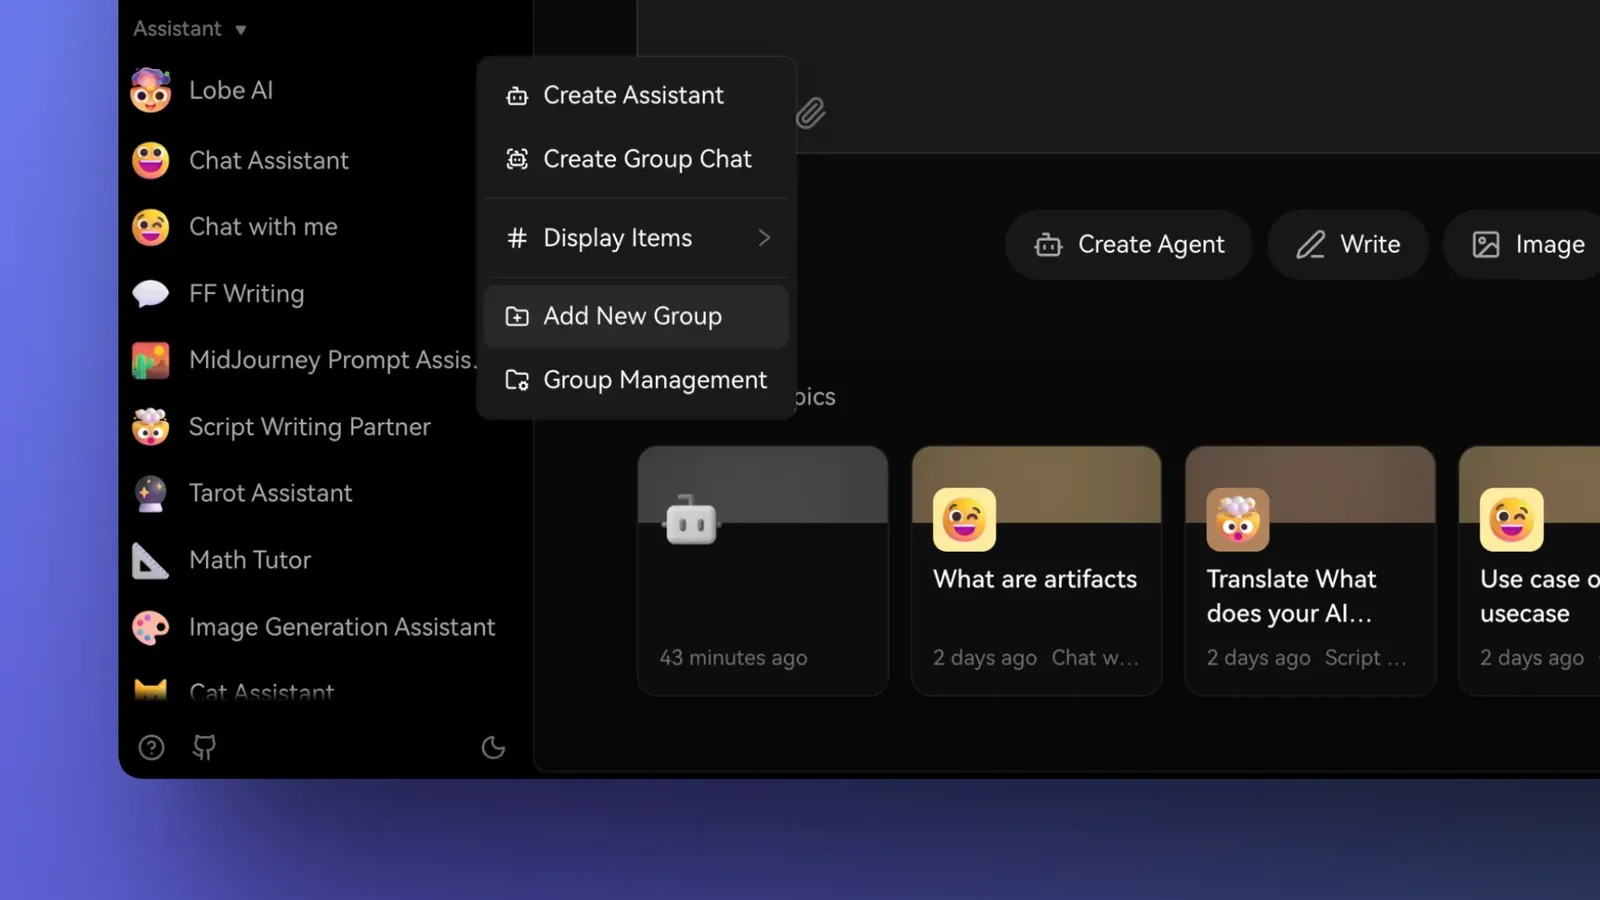
When you have many Agents and Group Chats, organizing them into Groups keeps the sidebar clean and makes switching easier.
Create a Group
On the LobeHub homepage, open the Agent list menu and select Add New Group.
Move to a Group
Select an existing Agent or Group Chat, then click Move to Group. You can also create new Agents or Group Chats directly inside a Group.
Manage Groups
Go to the Agent list or Group menu and select Manage Groups to rename or reorder them.
Pin Frequently Used Agents
Pin an Agent to the top of the list for quicker access. Select the Agent and choose Pin from the menu. Pinned Agents stay at the top.
Create a Copy
Duplicate an Agent to explore different configurations without modifying the original. Select the Agent and choose Create Copy from the menu.
Delete an Agent
Select the Agent, choose Delete from the menu, and confirm. The Agent will be removed.